
Touch Typing Tutorial: Learn to Type Without Looking at the Keyboard
Learn touch typing step-by-step with this beginner-friendly guide. Master proper finger placement, improve typing speed, and type without looking at the keyboard.
VectorTyping Team
6 Jun 2026
6 min read
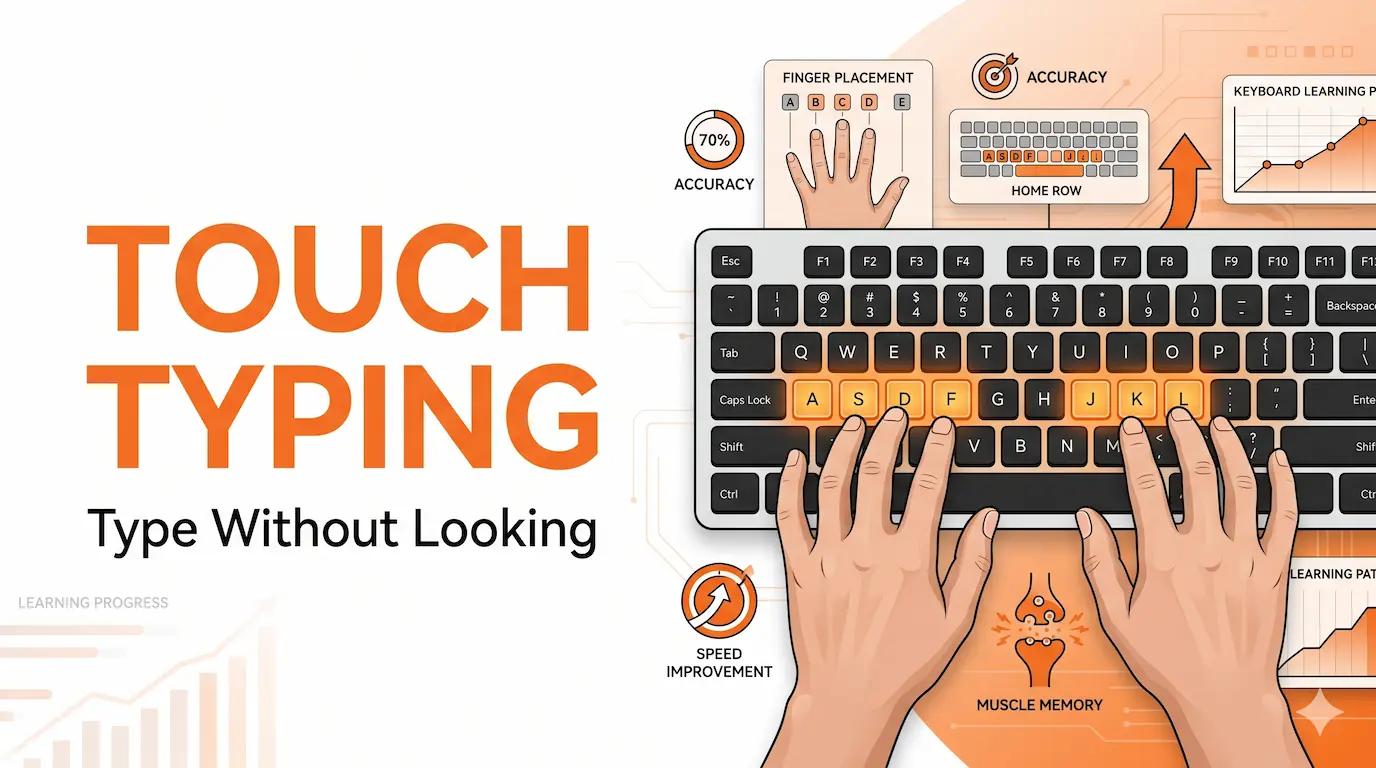
Want to type faster without constantly looking down at your keyboard?
Touch typing is one of the most valuable computer skills you can learn. It allows you to type using muscle memory rather than searching for keys, helping you increase speed, improve accuracy, and reduce fatigue.
Whether you're a student, office worker, programmer, writer, or preparing for government exams, learning touch typing can dramatically improve your productivity.
In this step-by-step tutorial, you'll learn proper finger placement, keyboard positioning, common mistakes to avoid, and a practical learning roadmap that can help you become a confident touch typist in just a few weeks.
What Is Touch Typing?
Touch typing is the ability to type on a keyboard without looking at the keys.
Instead of visually locating each key before pressing it, your fingers automatically know where to move based on muscle memory.
Professional typists don't memorize individual keys. Instead, they develop finger habits through consistent practice.
Benefits of Touch Typing
Learning touch typing provides several advantages:
Faster Typing Speed
Most touch typists can type significantly faster than users who rely on the hunt-and-peck method.
Better Accuracy
Proper finger placement reduces typing errors and improves consistency.
Less Fatigue
Touch typing minimizes unnecessary hand movement, reducing strain on fingers, wrists, and shoulders.
Improved Productivity
When you no longer need to look at the keyboard, you can focus entirely on your work.
Why Professional Typists Use Touch Typing
The vast majority of professional typists rely on touch typing because it allows them to:
- Work faster
- Make fewer mistakes
- Maintain speed for longer periods
- Stay focused on content instead of keys
The Home Row Position (Most Important!)
The foundation of touch typing is the home row.
Every typing movement starts and ends here.
Home Row Keys
Place your fingers on:
Left Hand
- Pinky → A
- Ring Finger → S
- Middle Finger → D
- Index Finger → F
Right Hand
- Index Finger → J
- Middle Finger → K
- Ring Finger → L
- Pinky → ;
Home Row Layout
A S D F J K L ;
Thumb Placement
Both thumbs should rest lightly on the spacebar.
Most people naturally use their dominant thumb to press the spacebar.
Wrist Position
Keep your wrists:
- Straight
- Relaxed
- Slightly elevated
Avoid resting your wrists heavily on the desk while typing.
The F and J Bumps
Most keyboards have small raised bumps on:
- F key
- J key
These help you reposition your fingers without looking down.
Finger-to-Key Mapping (Complete Chart)
Each finger is responsible for specific keys.
Following proper finger assignments is essential for developing speed and accuracy.
Left Hand Mapping
Left Pinky
Keys:
1 Q A Z
Left Ring Finger
Keys:
2 W S X
Left Middle Finger
Keys:
3 E D C
Left Index Finger
Keys:
4 5 R T F G V B
Right Hand Mapping
Right Index Finger
Keys:
6 7 Y U H J N M
Right Middle Finger
Keys:
8 I K ,
Right Ring Finger
Keys:
9 O L .
Right Pinky
Keys:
0 P ; / [ ] - = \ '
Thumbs
Use either thumb for:
Spacebar
Following this finger-to-key mapping helps build muscle memory and increases typing efficiency over time.
Step-by-Step: How to Learn Touch Typing
Learning touch typing is easier when broken into stages.
Week 1: Master the Home Row
Focus only on:
A S D F J K L ;
Practice:
- Finger placement
- Returning to home row
- Basic combinations
Example exercises:
asdf jkl;
fjfj dkdk
sads lklk
Week 2: Learn the Top Row
Add:
Q W E R T Y U I O P
Practice moving between:
- Home row
- Top row
without looking at the keyboard.
Week 3: Learn the Bottom Row
Add:
Z X C V B N M
Focus on smooth finger movement and proper key assignments.
Week 4: Numbers and Symbols
Learn:
1 2 3 4 5 6 7 8 9 0
and commonly used symbols.
Practice frequently used combinations.
Week 5 and Beyond: Full Text Practice
Begin typing:
- Articles
- Emails
- Paragraphs
- Stories
- Practice texts
At this stage, your goal is to improve:
- Speed
- Accuracy
- Consistency
Common Touch Typing Mistakes
Many beginners slow their progress by making the same mistakes repeatedly.
Looking at the Keyboard
This is the most common mistake.
Every time you look down, you interrupt muscle memory development.
Try covering your hands if necessary.
Poor Posture
Slouching can lead to:
- Fatigue
- Wrist strain
- Reduced typing speed
Maintain proper ergonomic positioning.
Using the Wrong Fingers
It may feel easier initially, but using incorrect fingers prevents efficient muscle memory formation.
Follow the finger mapping chart consistently.
Tensing Up
Typing should feel relaxed.
Excess tension causes:
- Slower movement
- Increased fatigue
- More mistakes
Keep your shoulders and hands loose.
Chasing Speed Too Early
Focus on accuracy first.
Speed naturally improves as your finger movements become automatic.
Best Tools for Touch Typing Practice
Regular practice is the fastest way to improve.
VectorTyping
VectorTyping offers:
- Touch typing practice
- Typing speed tests
- Accuracy tracking
- WPM measurement
- Typing certificates
- Progress monitoring
It's an excellent platform for both beginners and advanced typists.
Structured Practice Routine
For best results:
5 Minutes
Home row drills
10 Minutes
Touch typing lessons
5 Minutes
Typing speed test
A simple 20-minute daily routine can produce noticeable improvements within weeks.
How Long Until I Master Touch Typing?
Everyone learns at a different pace, but most people see progress surprisingly quickly.
Complete Beginners
Most beginners develop basic touch typing skills within:
2–4 weeks
of consistent practice.
Two-Finger Typists
Users switching from the hunt-and-peck method usually require:
3–6 weeks
to become comfortable with touch typing.
Advanced Proficiency
Reaching:
- 60+ WPM
- High accuracy
- Strong consistency
typically takes several months of regular practice.
Recommended Daily Practice
For best results:
15–30 minutes per day
Consistency matters more than long practice sessions.
Take a Touch Typing Test
Think you're already touch typing?
Put your skills to the test.
A typing test on VectorTyping can help you measure:
- WPM (Words Per Minute)
- Accuracy Percentage
- Error Rate
- Typing Consistency
You'll quickly discover whether you're truly typing from muscle memory or still relying on visual keyboard checks.
Track your progress and challenge yourself to improve each week.
Frequently Asked Questions
What is touch typing?
Touch typing is the ability to type without looking at the keyboard by using muscle memory and proper finger placement.
Is touch typing difficult to learn?
No. Most beginners can learn the fundamentals within a few weeks of regular practice.
How long does it take to learn touch typing?
Most users become comfortable within 2–4 weeks when practicing consistently for 15–30 minutes per day.
Can adults learn touch typing?
Absolutely. Touch typing can be learned at any age.
Should I focus on speed or accuracy?
Always prioritize accuracy first. Speed improves naturally as your typing becomes more efficient.
What is a good touch typing speed?
For most users:
- 40–50 WPM = Average
- 50–70 WPM = Good
- 70+ WPM = Excellent
Can touch typing help with government exam preparation?
Yes. Touch typing can significantly improve speed and accuracy for typing-based competitive exams and skill tests.
Start Learning Touch Typing Today
Touch typing is one of the most valuable skills you can develop for work, study, and everyday computer use.
By mastering the home row, using proper finger placement, practicing consistently, and avoiding common mistakes, you can dramatically improve your typing speed and accuracy.
Start practicing today on VectorTyping and build the muscle memory needed to type faster without ever looking at the keyboard.
About this article
Author
VectorTyping Team
Published
6 Jun 2026
Read time
6 min read
Category
Free to start · No sign-up required
Ready to improve your typing speed?
Practice SSC, Railway, Banking, Hindi & English typing with real exam passages and live WPM tracking.
97L+
Aspirants
10K+
Passages
100%
Free forever
Keep learning
Continue Reading
More articles on practice
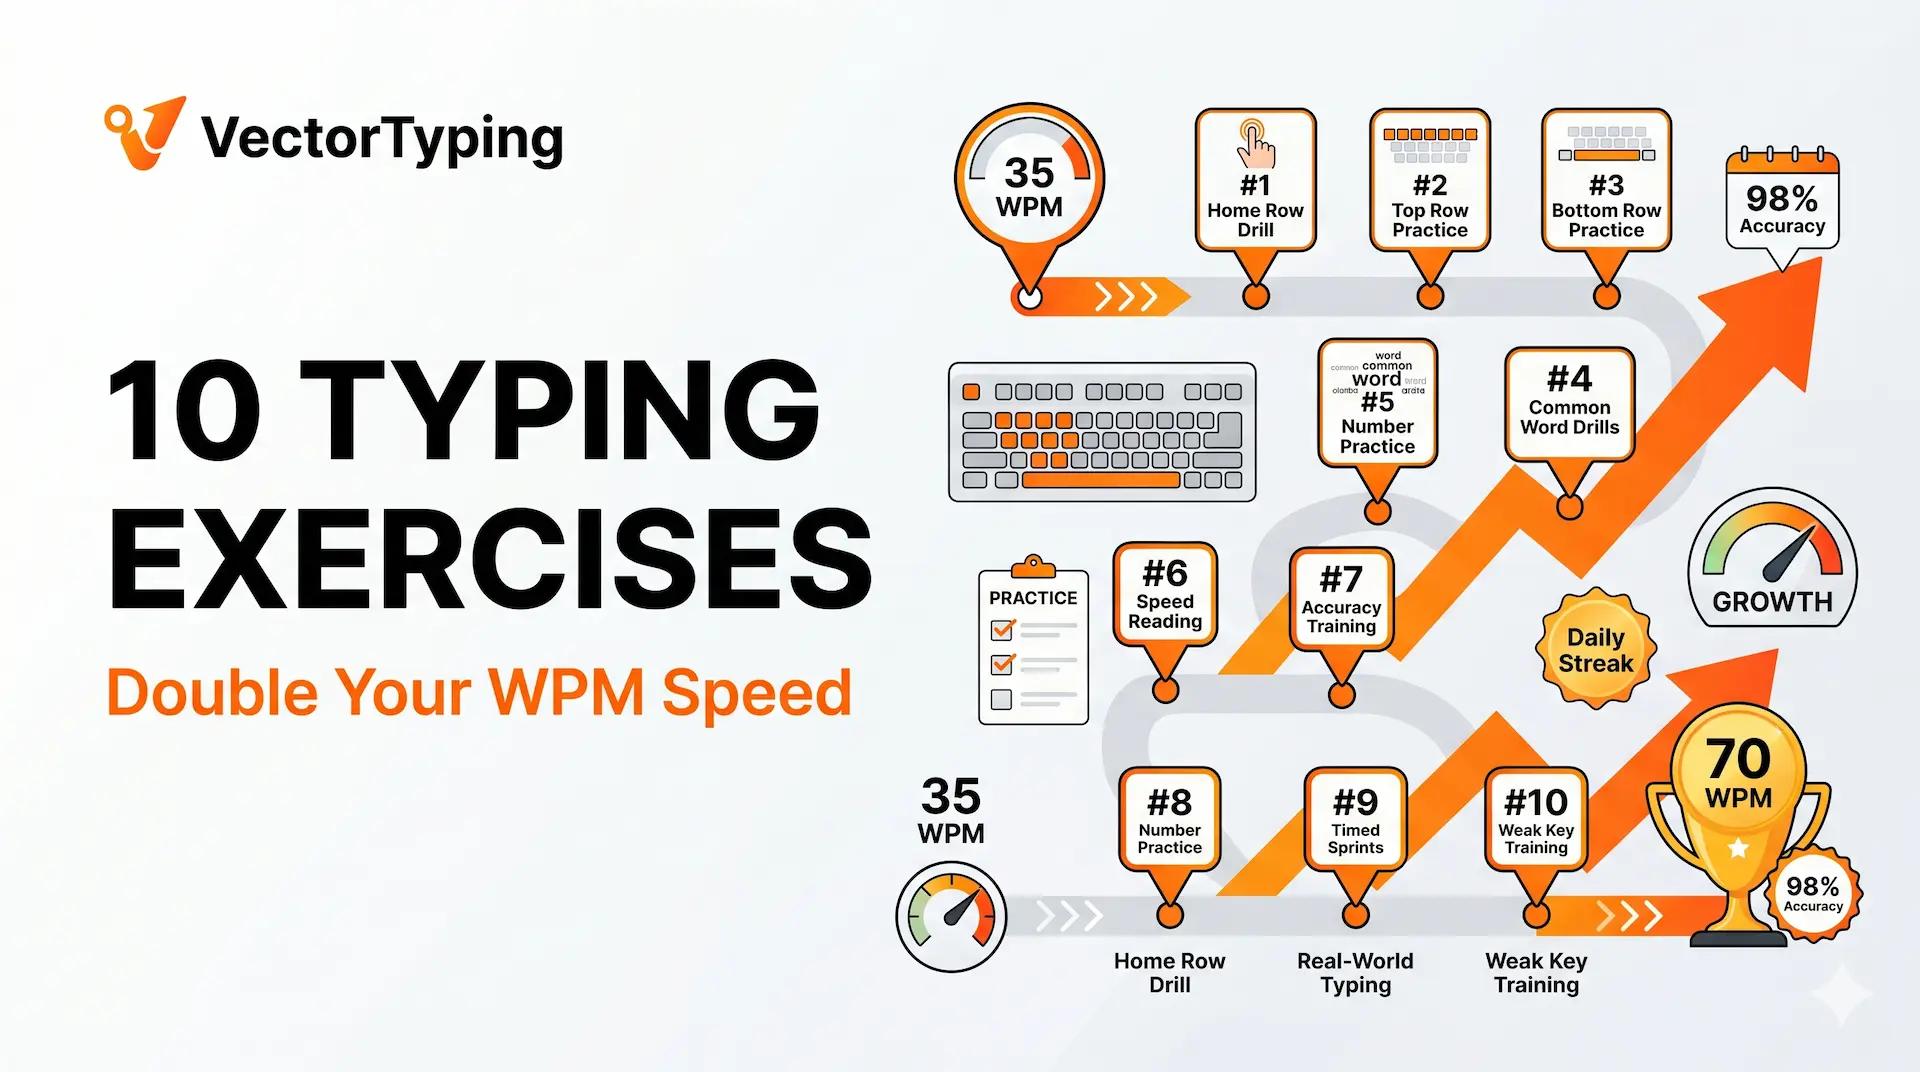
Typing Practice Exercises: 10 Drills to Double Your WPM Speed
Improve your typing speed with 10 proven typing practice exercises. Learn drills for accuracy, muscle memory, speed, and endurance to increase your WPM faster.
VectorTyping Team
·
8 Jun 2026
6 min read
Read
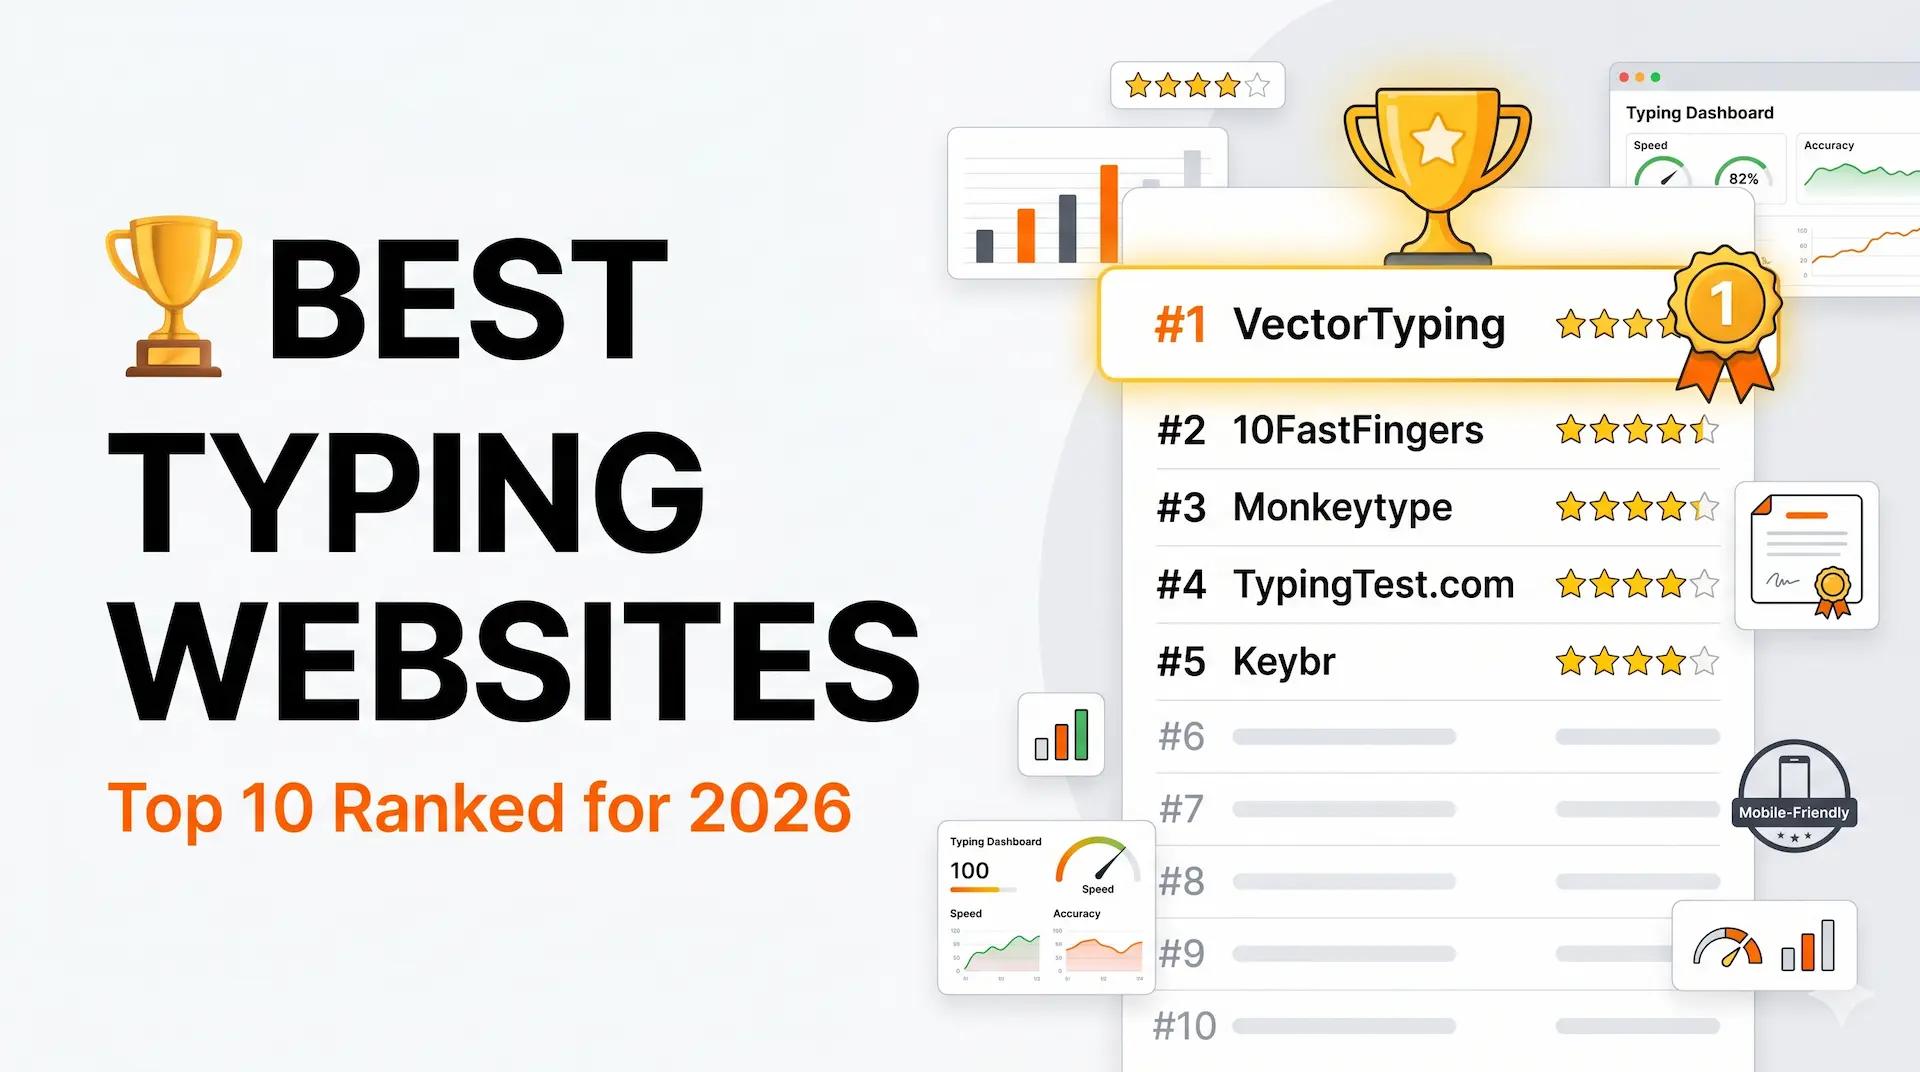
Best Typing Websites 2026: Top 10 Free Typing Test & Practice Sites
Discover the best typing websites in 2026. Compare VectorTyping, Monkeytype, 10FastFingers, Keybr, TypingTest.com, and more to improve your typing speed and accuracy.
VectorTyping Team
·
7 Jun 2026
5 min read
Read
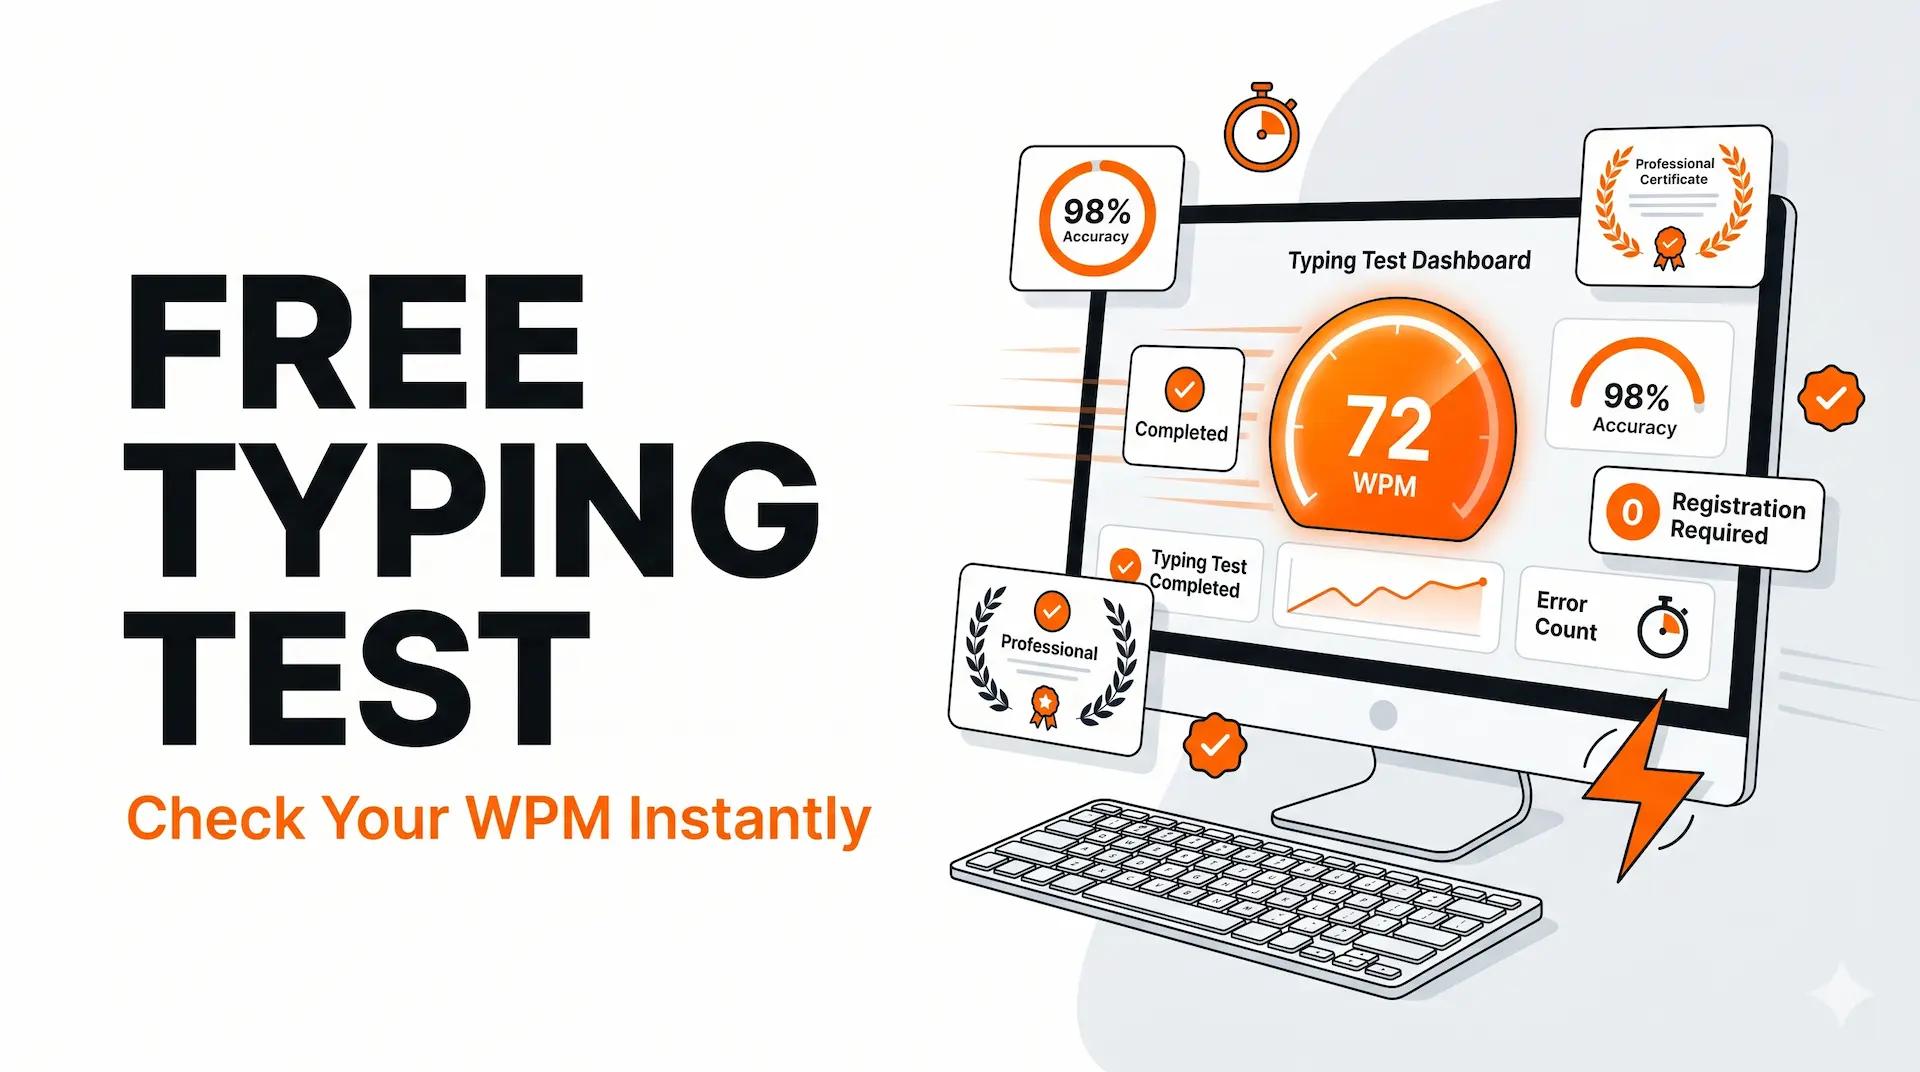
Typing Speed Test: Free Online WPM Test with Certificate
Take a free typing speed test online and check your WPM, accuracy, and typing performance instantly. Get a free certificate with verification ID on VectorTyping.
VectorTyping Team
·
5 Jun 2026
6 min read
Read